


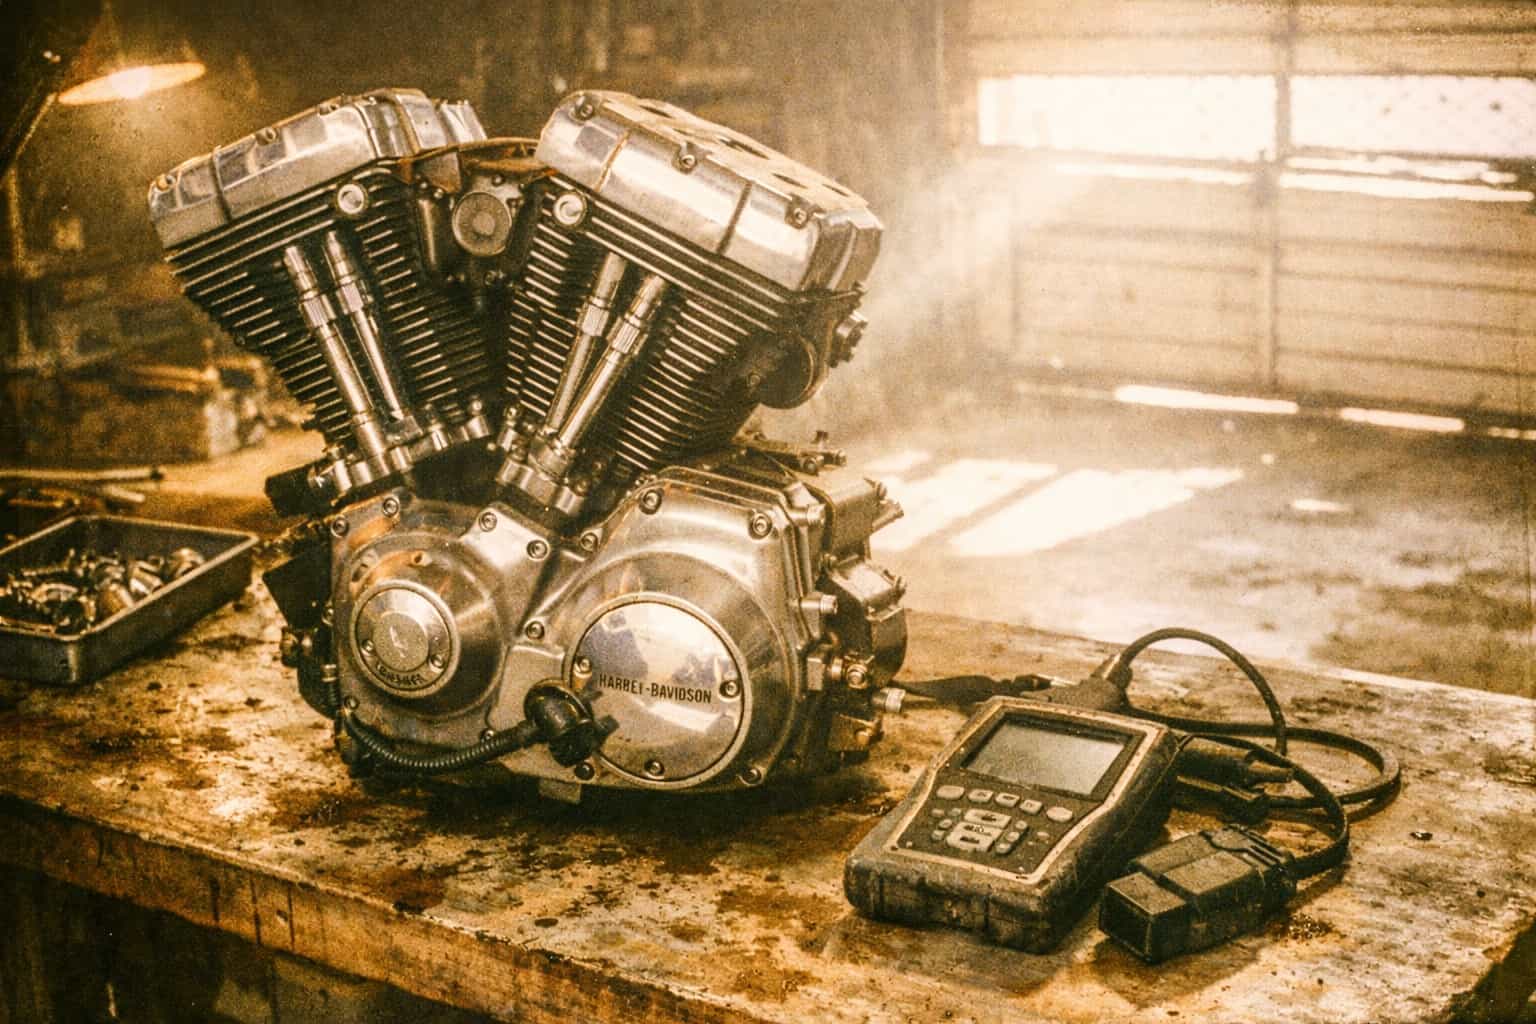
A Harley that cranks strong and refuses to fire, or dies mid-corner and restarts twenty minutes later, sends most riders straight to a search engine. What comes back is a wall of generic car-repair pages about P0385 and P0386. Those are real OBD-II codes. They are not the CKP entries in Harley’s current public list, and starting from the wrong code list can send the diagnosis toward the wrong circuit.
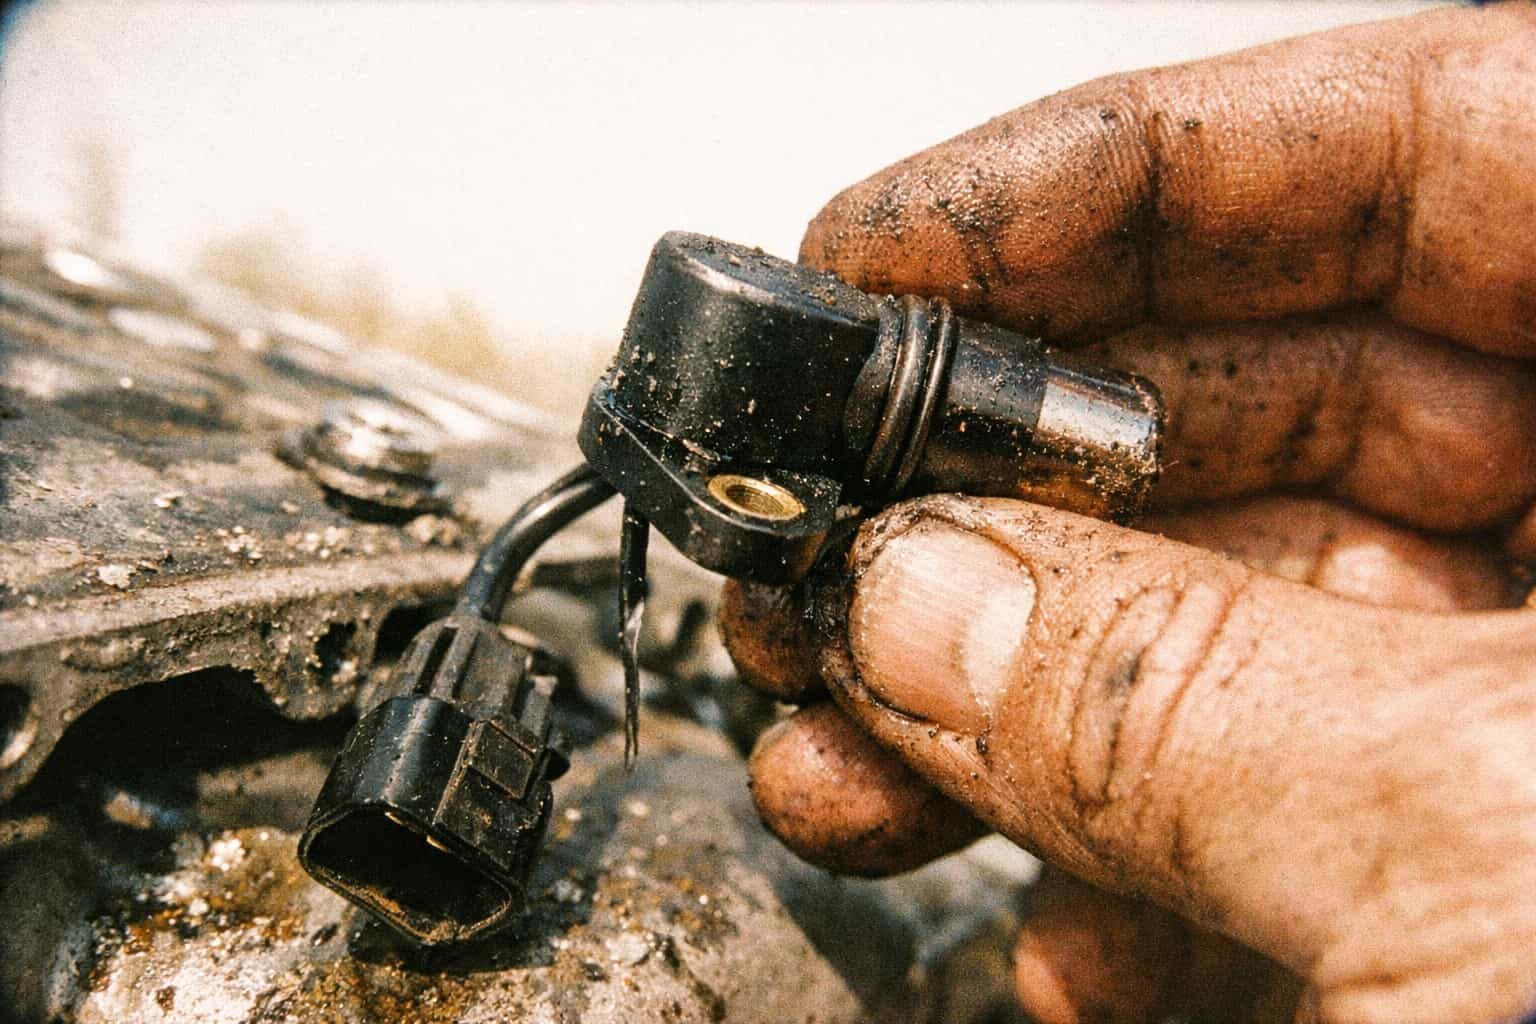
The crank position sensor, usually written CKP, gives the ECM the crankshaft-position input it needs to control spark and fuel. Losing a usable signal can stop the engine, but it does not prove the sensor itself failed. The connector, wiring, fastener and module remain part of the same diagnostic path.
This guide splits the job in two. First the symptoms, which are real but shared with several other faults. Then the confirmation path, built on Harley’s own diagnostic material rather than a generic code database, so you replace a part because a test condemned it.
The Symptoms, and What Else Causes Them
Every symptom below is consistent with a crank position fault. Not one of them is proof on its own. The second column is what else produces the same complaint, and it is the reason this article does not tell you to order a sensor in paragraph three.
| What you notice | Also caused by |
|---|---|
| Cranks but will not start | Low battery voltage, bad ground, fuel pump or pressure, security system, ignition coil, ECM power |
| Starts cold, will not restart hot | Heat-related connector or harness fault, fuel delivery, ignition component breaking down hot |
| Stalls suddenly at speed | Charging system, ignition switch, harness chafe, fuel starvation, kill switch or sidestand circuit |
| Rough or unstable idle | Intake leak, injector, spark plugs or leads, throttle position input, cam timing drift |
| Random misfire, hesitation | Plugs, coil, fuel pressure, tuning, exhaust or intake leaks |
| Tach drops out or reads wrong | Crank signal loss, instrument cluster fault, CAN or serial data fault |
A hot-restart failure combined with a tach that goes dead while the engine is still turning can raise suspicion of the crank-signal circuit. It still does not identify which part of that circuit failed.
A bike that has never stalled and idles cleanly but feels flat under load also calls for checks of fuel delivery, tune and breathing. Our Harley spark plug cross reference helps confirm the installed plug specification before a technician interprets plug condition.
Use the Harley Codes, Not the Car Codes
Harley’s current public list does not report a crank position fault as P0385.
Harley’s current public diagnostic trouble code list includes two CKP entries: P0371, CKP sensor wrong number of pulses, and P0374, CKP sensor no pulses. The same document tells the rider to discontinue operation and see a dealer for either code.
That public list does not define P0372 or P0373, publish enabling conditions, or provide a universal meter test. Those details belong to the electrical diagnostic manual for the exact model year and module. Older manuals may contain additional CKP codes, but they should not be projected across every Harley EFI generation.
Any code you pull is a starting point for a test procedure, not a parts order. Our Harley diagnostic code lookup covers how to read codes without a scan tool and what the code families mean, and it makes the same point: a DTC names a circuit and a symptom, never a specific broken component.
Why the Sensor Gets Blamed Unfairly
Two categories can produce the same complaint while the sensor itself is still serviceable.
Connector and harness condition. Corrosion, a backed-out terminal, damaged insulation or a pinched wire can interrupt a circuit without an internal sensor failure. Inspect the points identified by the exact model-year diagnostic tree.
Battery and ground condition. Marginal cranking voltage produces hard starting, stalling and odd code sets across several systems. Charge and load-test the battery, clean the terminals, and check the engine-to-frame ground first so the diagnostic procedure starts with stable electrical power.
If a code remains after a part replacement, reopen the factory diagnostic tree. A returning code does not identify the harness, module, replacement part or installation by itself.
Confirming the Fault
Work in this order. Each step either finds the fault or earns you the right to move on.
1. Battery, grounds, basics. State of charge, terminal condition, engine and frame grounds. If cranking voltage is low, fix that before you interpret anything else.
2. Pull every stored code. Not just the crank code. Codes from other modules are evidence. Write them all down with the mileage and the conditions when the fault happens.
3. Inspect before you measure. With the motorcycle off, inspect the CKP connector locations identified by the manual. Look for corrosion, terminals that are pushed back in the housing, damaged insulation and a connector that does not latch. Check the sensor fastener only by the procedure and torque information for that platform.
4. Run the exact factory test. Open the electrical diagnostic manual for the model year and follow its CKP test, meter setting, connector location and pin numbers. Harley changed modules and wiring across the Evolution Sportster, Twin Cam, Revolution and Milwaukee-Eight generations. A test copied from another platform can give a convincing but irrelevant result.
If your manual does list a resistance specification for your platform, use that number and its tolerance. A single “about 1,000 ohms” figure repeated across the internet is not a specification for your bike, and comparing a real reading to an invented target is worse than not measuring at all.
5. Follow the circuit checks in sequence. If the diagnostic tree calls for continuity or voltage checks, use only the connector pins, isolation steps and limits printed for that model year. Pin numbering changes between platforms and years.
6. Reproduce the failure condition safely. If the bike only fails hot, repeat only the checks the manual permits at that temperature. A cold result does not rule out a hot-only circuit fault.
7. Only now consider the part. Fit the correct sensor for your platform from the parts catalog, torque the fastener to the manual figure, clear codes, and verify a clean hot and cold start plus a stable tach before you ride.
Model and Platform Differences That Actually Matter
Crank position sensors are not one part with one procedure across the Harley range. A Twin Cam procedure is not automatically valid for another engine family or module generation.
- Sensor location, fastener and torque vary by engine family. Twin Cam, Milwaukee-Eight, Evolution Sportster and the Revolution V-Rod engines all place the sensor differently. The model-year service manual and the parts catalog are the only reliable source for where it sits and what it takes to remove it.
- The correct replacement part varies by year within a platform. Part supersessions are normal across a production run. Order by VIN through the current parts catalog rather than assuming one sensor covers an entire engine family.
- Wiring colors and ECM pin assignments change. Use the diagram for your year.
- The DTC set varies by module and year. Older and newer EFI generations do not carry identical code lists, which is another reason to read Harley’s list for your bike rather than a generic database.
If you are not certain which engine is actually in the frame, especially on a used bike that has been apart before, decode it first. Our Harley VIN decoder guide walks the positions that identify engine family and model year, and getting that right is what makes every manual reference above point at the correct document.
Build the Diagnostic Packet Before You Test
Electrical diagnosis goes faster when the motorcycle and the failure are identified before a connector comes apart. Put these items in one note:
- The complete VIN and current odometer reading. The VIN selects the model year, engine, market, and parts catalog. Do not rely on the registration year or the seller’s description.
- Every active and historic code, exactly as displayed. Record the module that reported it as well as the code. Clearing everything before writing it down destroys evidence about related faults.
- The conditions when the fault appears. Note whether the engine was cold or hot, idling or moving, and whether the tachometer dropped before the engine stopped. These observations help select the correct branch in the manual, but they do not prove which component failed.
- Recent work. A tank removal, battery replacement, handlebar change, engine repair, or accessory installation can point the inspection toward a disturbed connector, ground, or harness route.
- Battery state and charging results. Low system voltage can create several unrelated codes and make cranking-speed data misleading. Address a known battery or charging fault before interpreting the rest.
Use the VIN to locate the electrical diagnostic manual, wiring diagram, and parts catalog in Harley’s Service Information Portal. They serve different jobs. The diagnostic manual supplies the decision tree and test conditions. The wiring diagram identifies connector cavities, wire colors, splices, and grounds. The parts catalog resolves the sensor and any superseded number. A generic code site, forum diagram, or car-scanner definition cannot replace those three documents.
NHTSA’s manufacturer-communications search is a separate check for service bulletins tied to a model and year. A bulletin can narrow a known condition, but it does not make the diagnostic steps for a different year transferable.
Safety Limits
This is a running-gear fault with real consequences, so the boundaries matter.
A bike that stalls unexpectedly is not roadworthy. Losing the engine in an intersection, in a corner, or in traffic removes drive and can unsettle the bike at the worst moment. Repeated unexplained stalling means the bike goes on a trailer, not on a highway ride.
Do not crank continuously chasing a hot no-start. Long cranking flattens the battery, heat-soaks the starter, and can wash fuel past the rings. Short attempts, then stop and diagnose.
Do not use a running engine as a test bench. Probing connectors and moving harnesses near a hot engine and moving primary or belt drive is how people get burned or caught. Kill the engine to inspect, use the manual’s procedure to test.
Take the bike to a technician when the code returns after a confirmed-good sensor, several unrelated codes appear together, the bike is under warranty, you cannot get the service manual and wiring diagram for your year, or the diagnosis points at the ECM or a harness repair.
What This Repair Realistically Costs
The part price is only one piece of the repair. Diagnostic time depends on what the fault turns out to be.
Sensor pricing moves with platform, supplier and time, so any figure printed here would be stale within a season. Check current pricing through the Harley parts catalog for your VIN and a reputable aftermarket supplier, and compare on fitment rather than price alone.
Access and labor vary by platform. A chafed wire inside a harness bundle, an ECM connector terminal that has lost tension, or a fault that appears only after heat soak can require more diagnostic time than replacing an accessible sensor. Get an estimate based on the confirmed fault rather than a generic price range.
Riders who are new to their own maintenance can build the underlying habits first in our motorcycle beginner guide before taking on electrical diagnosis, and the Harley-Davidson history guide is worth a read for how the engine generations and their electronics differ.
The Rule Worth Keeping
A crank position code describes the pulse condition the module detected. It does not identify the failed component. The exact diagnostic tree is what separates the sensor from its connector, harness, installation and control module.
Confirm, then replace. If you do your own work, our t-shirt collection is built for riders who wrench, including the Snake and Wrench tee.
Sources
- Harley-Davidson - Diagnostic Trouble Codes - Harley’s current public DTC list defining P0371 as a wrong number of CKP pulses and P0374 as no CKP pulses
- Harley-Davidson Service Information Portal - model-year service manuals, electrical diagnostic manuals, wiring diagrams and parts catalogs, the authority for sensor location, test specifications and torque
- SAE International - J2012 diagnostic trouble code standard - the standard that defines generic OBD-II code structure and why generic P0385 and P0386 definitions do not map to Harley’s crank position codes
- NHTSA - Manufacturer communications search - official repository for Harley service communications and bulletins covering specific model years
- NHTSA - Recall lookup by VIN - check for open recalls affecting your exact motorcycle before starting electrical work