



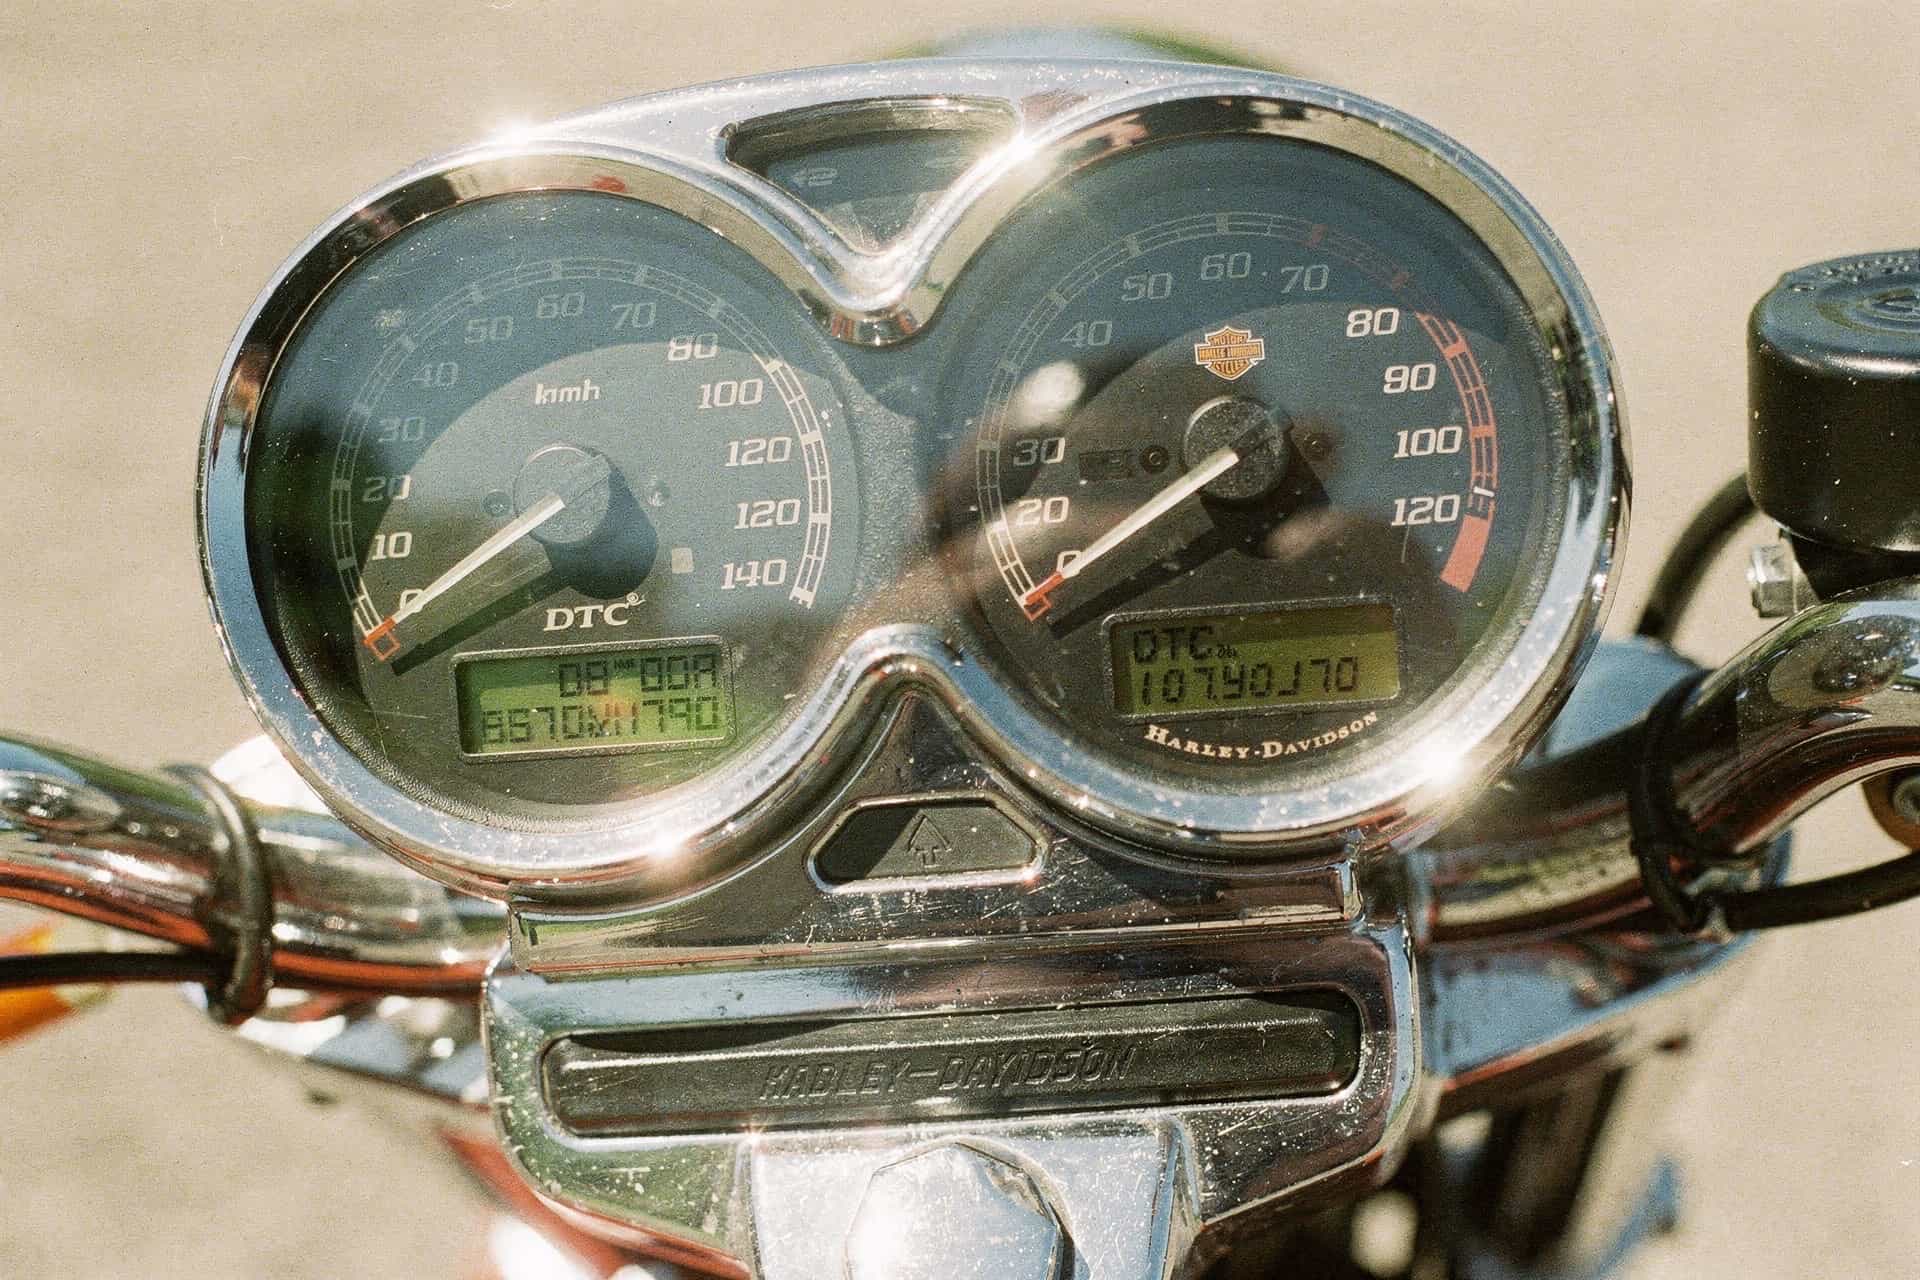
A warning lamp gives you a starting point, not a parts order. A Harley diagnostic trouble code records what a control module detected at a particular moment. The same code can be triggered by a failed component, damaged wire, loose terminal, weak battery, poor ground, or a fault elsewhere in the circuit.
That distinction saves money. A rider may notice a check-engine lamp after a cold start, a stumble over bumps, or a fault that appears only after washing the bike. Those details help separate an intermittent connector problem from a repeatable sensor or mechanical fault.
This page explains how to use Harley-Davidson diagnostic codes without applying one model’s procedure or code list to every motorcycle.
Our rule when a warning lamp appears: record the evidence first. Clearing a code or disconnecting the battery before writing down the module, status, and conditions can erase the best clue you have.
Start With Four Pieces of Information
Before looking up a code, record:
- The complete DTC, including its letter and every digit.
- The module that reported it, such as ECM, BCM, ABS, or an instrument module.
- Whether the display marks it current or historic.
- The full model, model year, market, and installed equipment.
Do not shorten P0562 to 562, and do not discard the module name. Different modules can monitor related circuits, and a generic web list may attach the wrong meaning to an incomplete code.
If the motorcycle’s identity is uncertain, use the Harley VIN lookup guide to establish the model year and model family. Then select that exact vehicle in the Harley-Davidson Service Information Portal.
What the First Letter Tells You
The leading letter identifies a broad system family:
| Prefix | General family | Typical reporting systems |
|---|---|---|
| P | Powertrain | Engine control, throttle, fuel, ignition, emissions |
| B | Body | Lighting, security, switches, body control |
| C | Chassis | ABS, wheel-speed monitoring, chassis control |
| U | Network | Communication between electronic modules |
This is classification, not diagnosis. P does not mean the engine itself is damaged, and U does not prove that a control module has failed. A network code may result from voltage loss, a connector fault, damaged data wiring, or a module that stopped communicating for another reason.
How to Read Codes on Your Exact Harley
Harley has used different speedometers, button layouts, connectors, and module architectures. Some motorcycles provide a dashboard diagnostic menu. Others require a compatible tool. Older electronic systems use different procedures again.
Use this sequence:
- Find the owner’s manual for the exact model year in the Service Information Portal.
- Search that manual for
diagnostics,check engine lamp, orDTC. - Follow only the menu or switch sequence shown for that motorcycle.
- Record every displayed module and code before selecting any clear option.
- If the manual does not provide rider access, use a scan tool explicitly listed for the bike’s connector and protocol, or have an equipped shop read it.
Connector location also varies. Do not assume it is always below the left side cover. Confirm the location in the owner’s manual, electrical diagnostic manual, or tool fitment documentation before removing panels or buying an adapter.
Harley DTC Lookup From the Factory Public Index
The tables below transcribe the fault conditions in Harley-Davidson’s public Diagnostic Trouble Codes document. They restore a useful code lookup without pretending the list applies to every Harley.
The factory page does not publish a model-year applicability matrix. Treat each result as a definition to confirm in the electrical diagnostic manual for the exact motorcycle, not as proof that the code exists on every model.
| Code family | Likely reporting module or system | Applicability boundary |
|---|---|---|
| P | ECM and powertrain control | Only motorcycles with the named sensor, actuator, or control strategy |
| B | BCM, instruments, LHCM, RHCM, security, and switched outputs | Module names and supported outputs vary by chassis, year, market, and equipment |
| C | ABS control | Only ABS-equipped motorcycles using the listed ABS architecture |
| U | CAN network modules | Only motorcycles with the named network and module; not a legacy serial-data code list |
Abbreviations in the factory descriptions include ECM for engine control module, BCM for body control module, IM for instrument module, LHCM and RHCM for left- and right-hand control modules, WSS for wheel-speed sensor, CKP for crank-position sensor, VSS for vehicle-speed sensor, TPS for throttle-position sensor, TGS for twist-grip sensor, ETC for electronic throttle control, ACR for automatic compression release, and BAS for bank-angle sensor.
C Codes: ABS and Chassis
These entries apply only when the motorcycle has the relevant ABS system. A non-ABS bike cannot set an ABS wheel-speed or pump code from a module it does not have.
| DTC | Harley factory fault condition |
|---|---|
| C0562 | ABS voltage low |
| C0563 | ABS voltage high |
| C1014 | ABS ECU relay error |
| C1021 | ABS front WSS always zero |
| C1023 | ABS rear WSS always zero |
| C1025 | ABS front wheel speed intermittent |
| C1027 | ABS rear wheel speed intermittent |
| C1029 | ABS wheel speed difference too high |
| C1032 | ABS front wheel speed circuit open/shorted |
| C1034 | ABS rear wheel speed circuit open/shorted |
| C1040 | ABS pump/motor error |
| C1055 | ABS ECU internal error |
| C1061 | ABS front apply solenoid circuit open/high resistance |
| C1062 | ABS front release solenoid circuit open/high resistance |
| C1065 | ABS rear apply solenoid circuit open/high resistance |
| C1066 | ABS rear release solenoid circuit open/high resistance |
| C1159 | ABS invalid stored VIN |
| C1178 | ABS no VIN received from ECM |
| C1184 | ABS invalid VIN from ECM |
B Codes: Body, Instruments, Controls, and Security
The public list combines conditions from several body-side modules. Record the reporting module with the code. For example, B1151 is defined here as an RHCM turn-signal-bulb condition, but that does not establish that every model uses an RHCM or monitors the lamp the same way.
| DTC | Harley factory fault condition |
|---|---|
| B1101 | LHCM turn signal bulb out |
| B1103 | LHCM internal error |
| B1151 | RHCM turn signal bulb out |
| B1153 | RHCM internal error |
| B1200 | IM internal fault |
| B1201 | Internal fault - default calibration |
| B1214 | External indicator bar short to battery |
| B1215 | External indicator bar open load |
| B1216 | External indicator bar short to ground |
| B2102 | System power output shorted high |
| B2103 | System power output shorted low |
| B2104 | System power output overloaded |
| B2112 | ACC output shorted high |
| B2113 | ACC output shorted low |
| B2114 | ACC output overloaded |
| B2161 | Brake lamp output open |
| B2163 | Brake lamp output shorted low |
| B2164 | Brake lamp output overloaded |
| B2172 | H2 output shorted high |
| B2173 | H2 output shorted low |
| B2176 | Security antenna output open |
| B2177 | Security antenna output shorted high |
| B2178 | Security antenna output shorted low |
| B2183 | G2 output shorted low |
| B2188 | G3 output shorted low |
| B2193 | H4 output shorted low |
| B2198 | H3 output shorted low |
| B2206 | Run/stop switch input open/shorted high |
| B2208 | Run/stop switch input shorted low |
| B2210 | Run/stop switch inputs both open |
| B2212 | Run/stop switch inputs both closed |
| B2218 | Neutral switch shorted low |
| B2223 | Rear brake switch shorted low (light on) |
| B2226 | BAS input open |
| B2228 | BAS input shorted low |
| B2250 | Clutch switch stuck |
| B2259 | Aux lamp switch stuck |
| B2270 | BCM internal error |
| B2271 | BCM voltage low |
| B2272 | BCM/IM voltage high |
| B2274 | Constant battery line error |
P Codes: Engine and Powertrain Control
These are the powertrain entries in the public factory index. Hardware still controls applicability. A cable-throttle motorcycle does not gain an ETC or TGS fault merely because that code appears in this reference.
| DTC | Harley factory fault condition |
|---|---|
| P0031 | Front HO2S low/open |
| P0032 | Front HO2S shorted high |
| P0051 | Rear HO2S low/open |
| P0052 | Rear HO2S shorted high |
| P0107 | MAP sensor failed low/open |
| P0108 | MAP sensor failed high/open port |
| P0112 | IAT sensor shorted low |
| P0113 | IAT sensor high/open |
| P0117 | ET sensor shorted low |
| P0118 | ET sensor high/open |
| P0120 | TPS 1 range error |
| P0122 | TPS 1 low |
| P0123 | TPS 1 high/open |
| P0131 | O2 sensor low/engine lean (front) |
| P0132 | Engine running rich (front) |
| P0134 | Oxygen sensor high/open (front) |
| P0151 | O2 sensor low/engine lean (rear) |
| P0152 | Engine running rich (rear) |
| P0154 | O2 sensor high/open (rear) |
| P0220 | TPS 2 range error |
| P0222 | TPS 2 low/open |
| P0223 | TPS 2 high |
| P0261 | Fuel injector low/open (front) |
| P0262 | Fuel injector shorted high (front) |
| P0264 | Fuel injector low/open (rear) |
| P0265 | Fuel injector shorted high (rear) |
| P0325 | Knock sensor front open circuit |
| P0327 | Knock sensor front circuit low |
| P0328 | Knock sensor front circuit high |
| P0330 | Knock sensor rear open circuit |
| P0332 | Knock sensor rear circuit low |
| P0333 | Knock sensor rear circuit high |
| P0371 | CKP sensor wrong number of pulses |
| P0374 | CKP sensor no pulses |
| P0444 | Purge solenoid low/open |
| P0445 | Purge solenoid shorted high |
| P0502 | VSS failed low |
| P0503 | VSS failed high |
| P0505 | Idle speed control - unstable |
| P0522 | Engine oil pressure sensor/switch shorted low |
| P0523 | Engine oil pressure sensor/switch shorted high/open |
| P0562 | ECM voltage low |
| P0563 | ECM voltage high |
| P0572 | Brake switch low |
| P0577 | Cruise control input error |
| P0603 | ECM EEPROM memory error |
| P0605 | ECM FLASH memory error |
| P0641 | 5 Volt reference out of range |
| P0651 | 5 Volt reference 2 out of range |
| P1009 | VTD disabled fuel due to bad password |
| P1270 | TGS 2 A/D validation error |
| P1501 | JSS low |
| P1502 | JSS high/open |
| P1505 | Power limit violation |
| P1510 | ETC limited performance mode |
| P1511 | ETC power management mode |
| P1512 | ETC forced idle mode |
| P1514 | ETC airflow error |
| P1600 | ETC watchdog error |
| P1655 | ACR solenoid low/open |
| P1656 | ACR solenoid shorted high |
| P2100 | ETC driver open circuit |
| P2101 | ETC actuation error |
| P2102 | ETC driver shorted low |
| P2103 | ETC driver shorted high |
| P2105 | ETC forced shutdown mode |
| P2107 | ETC driver internal error |
| P2119 | ETC actuator return error |
| P2122 | TGS 1 low/open |
| P2123 | TGS 1 high |
| P2127 | TGS 2 low/open |
| P2128 | TGS 2 high |
| P2135 | TPS correlation error |
| P2138 | TGS correlation error |
| P2176 | ETC zero position learning error |
| P2300 | Ignition coil driver low/open (front) |
| P2301 | Ignition coil driver shorted high (front) |
| P2303 | Ignition coil driver low/open (rear) |
| P2304 | Ignition coil driver shorted high (rear) |
U Codes: CAN Network Communication
These definitions describe a CAN-networked architecture. Older serial-data systems can use different communication codes and module names.
| DTC | Harley factory fault condition |
|---|---|
| U0001 | CAN BUS error |
| U0002 | CAN communication bus performance error |
| U0003 | Network management monitoring |
| U0011 | CAN bus low shorted to CAN bus high |
| U0100 | Lost communication with ECM |
| U0121 | Lost communication with ABS |
| U0140 | Lost communication with BCM |
| U0141 | Lost communication with LHCM |
| U0142 | Lost communication with RHCM |
| U0156 | Lost communication with speedometer |
| U0157 | Lost communication with tachometer |
What If Your Code Is Missing?
Codes such as P1475, C1100, and the extended display form C110000 do not appear in the current public factory index used above. That absence does not prove the code is invalid. It means this source cannot support a universal definition.
Record the code exactly as displayed, including all zeroes and the module name. Then search the electrical diagnostic manual for the exact model and year. Do not silently shorten C110000 to C1100, map P1475 from an unrelated model, or assume that a Milwaukee-Eight engine identifies the motorcycle’s entire electronic architecture.
The factory source also publishes a rideability message for each listed entry. Many powertrain, body, and network conditions say to discontinue operation, while the ABS entries shown there generally say continued operation is possible with prompt repair. Follow the message displayed by the motorcycle and the model-specific manual. A red oil-pressure warning, braking fault, smoke, fuel leak, severe misfire, or unsafe throttle behavior is not a cue to keep riding while searching the internet.
Why Older Code Lists Need Extra Care
An early EFI motorcycle, a Twin Cam with serial data, and a CAN bus motorcycle do not share one diagnostic architecture. Two-digit flash codes found in an older manual should not be merged with five-character DTCs from a later manual. Likewise, a generic SAE code description may not include Harley’s module logic, operating conditions, or diagnostic steps.
If you own an early Magneti Marelli EFI bike, use the electrical diagnostic manual for that exact year and model. The same rule applies to V-Rod, Buell-derived systems, Touring electronics, Softail electronics, and later Revolution Max motorcycles. A broad list that erases those boundaries is more likely to mislead than help.
Diagnose the Circuit, Not the Code Name
Once you have the correct definition, work through the factory diagnostic tree. The order matters because later tests assume earlier checks passed.
1. Record the operating conditions
Note whether the engine was cold or hot, moving or idling, wet or dry, and whether the fault appeared after service, battery replacement, accessory installation, or a hard bump. Intermittent wiring faults often leave patterns that disappear once the bike is parked.
2. Check system voltage first
Low or unstable voltage can create several unrelated-looking codes. Test the battery and charging system using the specifications for the motorcycle. Inspect battery terminals and the documented ground points before blaming multiple modules at once.
3. Inspect the entire connector path
A clean sensor does not rule out an electrical fault. Check harness routing, pin fit, corrosion, water entry, terminal tension, and rubbed insulation. Do not force meter probes into terminals or spread them.
4. Follow the model-specific tests
The diagnostic manual may call for voltage, resistance, continuity, pressure, or an active scan-tool test. Use the specified connector views and pin numbers. A continuity result on the wrong pin can turn a simple fault into a damaged module.
5. Confirm the repair
Repair the fault, clear the code through the documented method, and repeat the operating condition that set it. A code that stays gone only while the motorcycle sits in the garage is not a confirmed repair.
For ignition complaints, the Harley spark-plug cross-reference helps verify the correct plug after the electrical diagnosis points there. For engine-family context, use our Harley-Davidson history guide rather than guessing from appearance.
Current Versus Historic Codes
A current code means the module still detects the condition under its present criteria. A historic code records a condition that is not currently active. Exact labels vary by system, so use the manual’s wording.
Historic does not mean imaginary. A loose terminal may reconnect after the bike stops vibrating. Record it, inspect relevant wiring, and consider when it appeared. But do not replace a part solely because an old code remains stored.
Read Groups of Codes as Evidence
Several codes set at the same time can reveal more than one isolated definition.
Multiple voltage codes: If the ECM, BCM, and ABS all record low-voltage conditions, test the battery, charging output, main connections, and grounds before treating three modules as separate failures. The individual diagnostic trees still apply, but the shared timestamp and supply path deserve attention first.
One sensor plus several communication codes: A lost module can make other modules report network faults. Identify which unit stopped communicating and whether it still has power and ground. Replacing every module named in a U code would ignore how the network reports absence.
Front and rear sensor codes together: Shared power, reference voltage, ground, harness routing, or calibration can matter. Do not assume two sensors failed simultaneously without testing the shared parts of the circuit.
A code after accessory work: Record what was added and where its wiring was routed. An accessory can disturb a connector, overload a circuit, create a poor ground path, or pinch network wiring. Restore the documented configuration for diagnosis when practical.
A fault that appears over bumps or in rain: Intermittent terminal contact, rubbed insulation, or water entry becomes more plausible. Inspect before moving the harness, because disturbing it can temporarily hide the evidence.
Patterns guide the order of inspection. They do not replace the factory flowchart or prove a common cause.
Build a Useful Diagnostic Record
If the fault needs a shop, bring more than a phone photo of the warning lamp. Write down the DTC, reporting module, status, mileage, battery voltage, recent work, weather, fuel level, engine temperature, and the exact symptom. Note whether cycling the ignition changed anything and whether the motorcycle could be restarted safely.
Video can capture an intermittent instrument display or sound, but keep attention on the road and record only while stopped. Do not erase codes before the technician sees them.
For a crank-position code, compare the electrical diagnosis with the observable patterns in our bad crank-position sensor guide. New riders can use the motorcycle beginner guide for the basic pre-ride and maintenance context. Neither article replaces the factory test for the code on the motorcycle.
Clearing Codes Without Losing Evidence
Clear codes only after recording them and completing the repair. Use one of these model-supported routes:
- The dashboard diagnostic menu described in the owner’s manual.
- A compatible diagnostic tool using its documented clear command.
Some modules require an ignition cycle or successful operating cycles before status changes. Others retain history. The exact behavior belongs to the model-year diagnostic documentation, not a universal countdown or button hold copied from another motorcycle.
When to Stop Riding
Stop and arrange proper diagnosis when the motorcycle has unsafe braking behavior, a red oil-pressure warning, smoke, a fuel leak, uncontrolled idle, throttle-control fault, severe misfire, overheating, or repeated loss of electrical power. Harley’s public DTC reference labels many conditions with Discontinue operation and tells the rider to seek repair.
For an ordinary stored code with no unsafe symptom, preserve the evidence and diagnose methodically. The useful question is not “Which part shares this code’s name?” It is “What test proves why this module saw this condition?”
We build for riders who use their machines. See the T-shirt collection or the In Gasoline We Trust tee when the garage work is done.
Sources
- Harley-Davidson - Diagnostic Trouble Codes - factory DTC definitions and rideability messages used for the selected table
- Harley-Davidson - Service Information Portal - model-specific owner’s manuals, parts catalogs, and service information
- SAE International - Diagnostic Trouble Code Standards - standard DTC structure and terminology
- NHTSA - VIN Decoder - independent vehicle identity check before selecting model-specific information
- NHTSA - Manufacturer Communications - official repository for model-specific service communications