

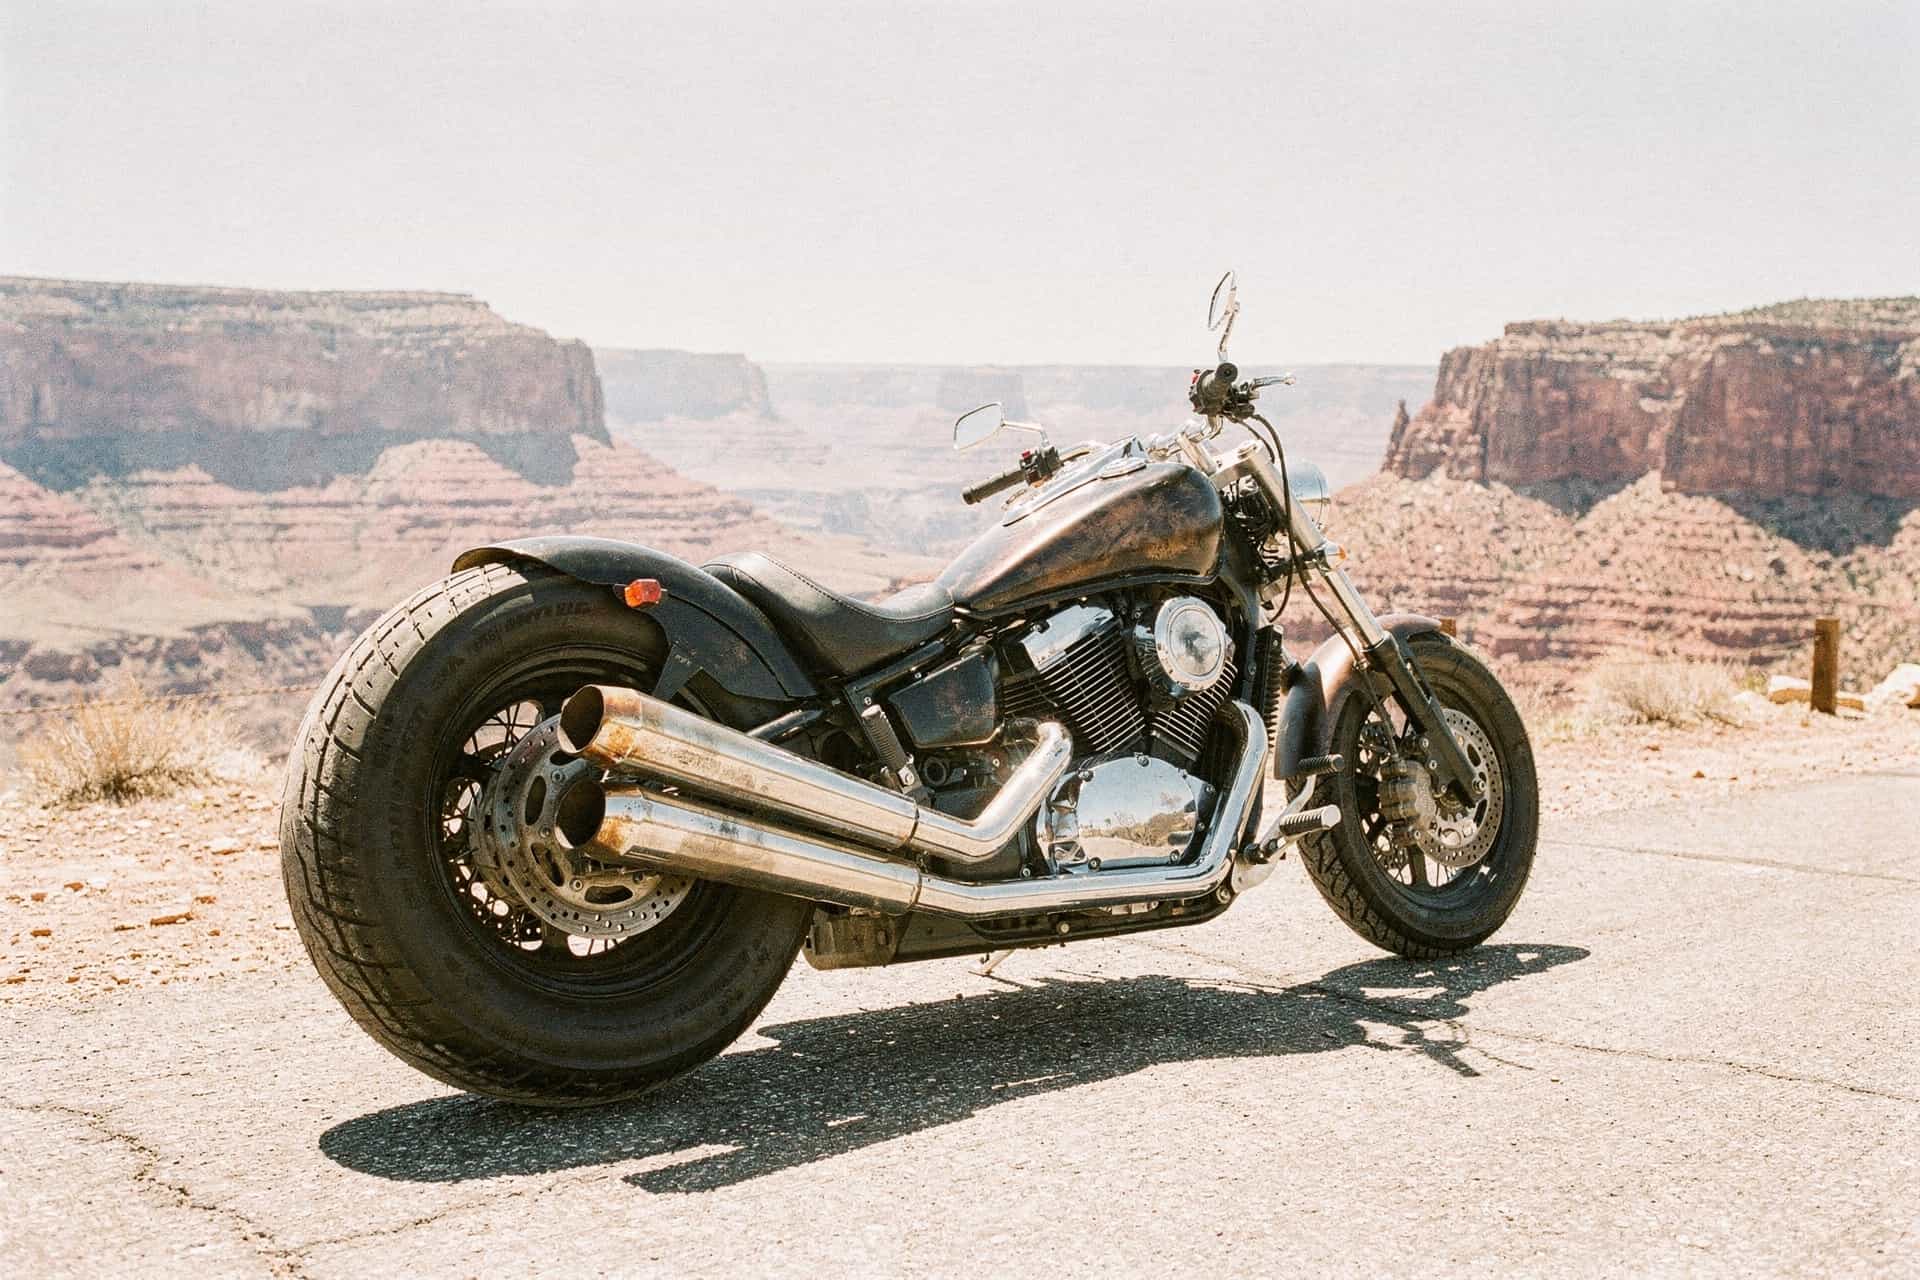
Not every bobber starts with a Harley. The Suzuki VS800 and VS1400 are two of the most overlooked donor platforms in the custom world: V-twin, shaft drive, cheap, and mechanically stubborn. The aftermarket is thinner than what exists for Sportsters and Bonnevilles, which is part of the appeal and most of the work. Building an Intruder forces you to measure things and fabricate, and you end up with something that does not look like every other build on the internet.
This guide is model-specific on purpose. Most Intruder bobber advice online treats the two displacements as interchangeable. They are not. Cooling, transmission, mass, brakes, and tire sizes can differ by model, year, and market, and those differences decide what you can bolt on and what you have to make.
One thing to settle before you start reading part lists: there is no single complete universal VS bobber kit. Exact-model parts do exist. Intruderteam lists rear-fender kits, fenders, seats, and brackets for VS1400 and VS800 applications, with TÜV documentation shown for some products. Availability, year fitment, included hardware, and road approval vary, so the listing for your exact donor matters more than the seller’s category name.
Pick Your Donor: VS800 vs VS1400
Suzuki built the Intruder from 1985 until the North American range was rebranded as the Boulevard series for 2005. Two displacements matter for bobber builders.
| Suzuki archive snapshot | 1993 Intruder 800 | 1987 VS1400 |
|---|---|---|
| Displacement | 805cc | 1,360cc |
| Maximum output | 36.8 kW / 50 PS at 6,000 rpm | 49 kW / 66.6 PS at 5,000 rpm |
| Maximum torque | 62.8 Nm at 4,500 rpm | 107.9 Nm at 3,400 rpm |
| Transmission | 5-speed | 4-speed |
| Front tire | 80/90-21 | 110/90-19 |
| Rear tire | 140/90-15 | 170/80-15 |
| Dry mass | 200 kg | 243 kg |
| Seat height | 685mm | Confirm for exact donor |
| Wheelbase | 1,560mm | Confirm for exact donor |
Read that table as what it is: two year-specific snapshots from Suzuki’s digital archive, not universal specifications for every VS800 and VS1400. Suzuki changed equipment across model years and markets. Before you order parts or cut anything, get the service manual for your exact year and market and confirm the identifiers and measurements against your own bike.
Do not assume intake, carburetor, transmission, brake, or chassis parts interchange just because two listings say Intruder. Identify the exact model code, year, and market before buying. Intake changes on a carburetted donor require tuning for that donor rather than a universal jet recipe.
Wikipedia’s Intruder entry also credits the VS1400 as the first factory bike with 36 degrees of rake from the showroom floor. Treat that as an interesting claim from a secondary source rather than a specification you should plan a build around.
What the Numbers Mean for Your Build
The spec table is not trivia. Four of those lines determine which parts you can actually buy.
Rear tire width constrains your fender. The stock VS800 tire is nominally 140/90-15 and the VS1400 tire is nominally 170/80-15, but those numbers are not finished-fender dimensions. Actual mounted width varies by tire model and rim. Measure the widest point, account for the rolled edges and mounts, then verify side and vertical clearance through full suspension travel before choosing or cutting a blank.
Both archived examples run a 15 inch rear, but their front sizes differ. The 1993 Intruder 800 snapshot has a 21 inch front and the 1987 VS1400 has a 19 inch front. Rim diameter is only a starting point for fender shape. Tire profile, mounted diameter, suspension path, and required clearance determine the final radius and mounting position.
Rear brake hardware changes your mounting plan. Do not infer it from displacement alone. Inspect the exact donor’s brake, torque arm, lines, and swingarm before placing a side-mount plate bracket or fender strut. Mock it up in cardboard before you cut steel.
Weight and seat height affect the build experience. In the two Suzuki archive snapshots above, the 800 is 43 kg lighter, and its listed seat height is 685mm. Confirm both dimensions for the exact donor, especially if low-speed handling or reach to the ground drives the choice.
Why the Intruder Works as a Bobber
A bobber is about subtraction. The Intruder suits that because of decisions Suzuki made decades ago.
Shaft Drive
No chain, no sprocket, no chain guard cluttering the left side. The shaft tucks under the swingarm and delivers power cleanly. When you chop the rear fender and mount a solo seat, the back end reads skeletal rather than greasy.
Shaft drive removes chain adjustment and lubrication, but it is not maintenance-free. The final-drive oil, seals, boots, splines, and joints still need inspection and service at the intervals in the model-year manual.
The V-Twin Reads Right
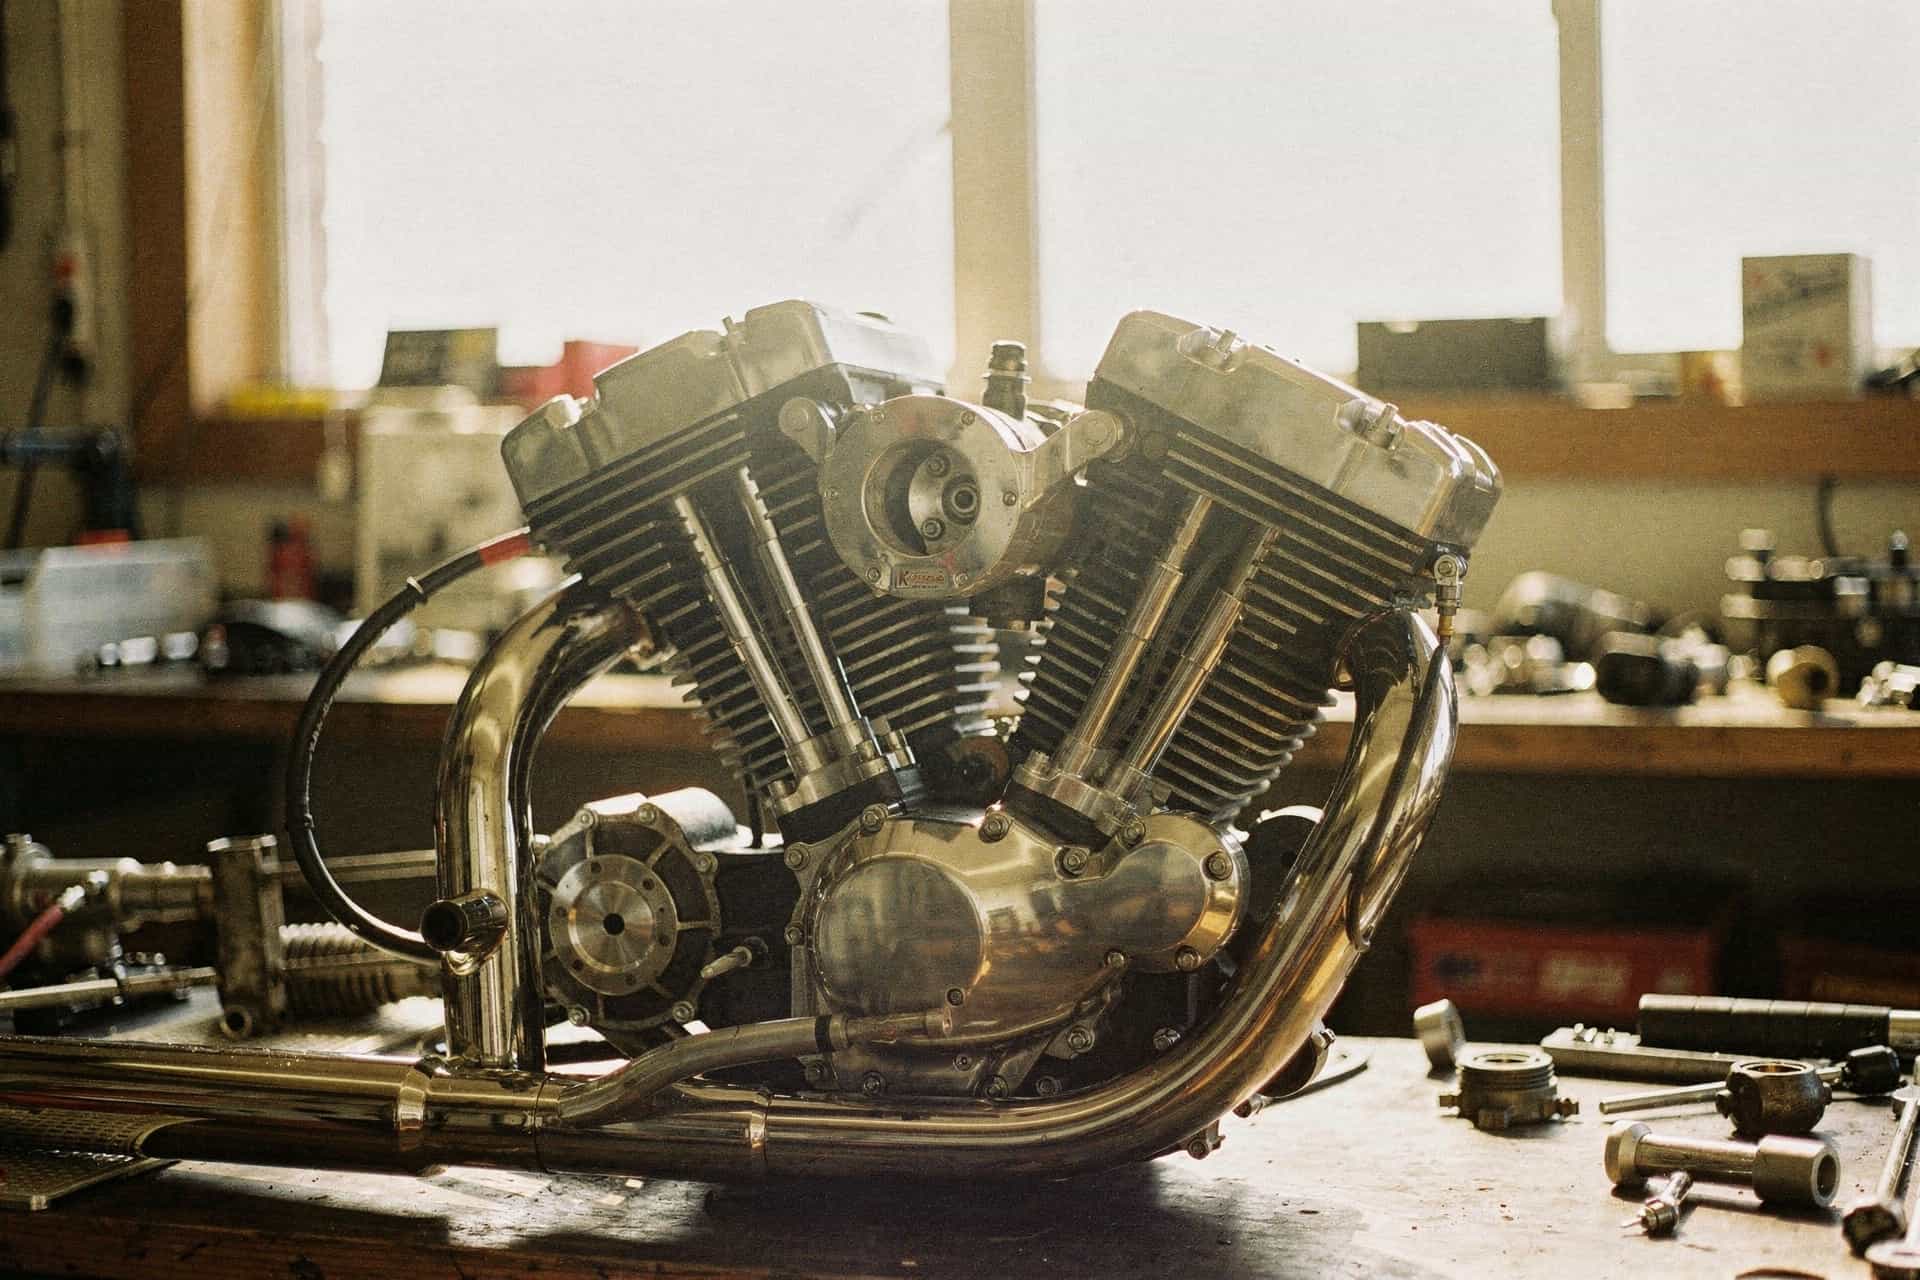
The Intruder’s 45-degree V-twin sits at the same angle as a Harley’s, so the silhouette looks correct once the bodywork is off. Strip the covers and the engine takes center stage.
The VS1400 is air and oil cooled, so there is no radiator or coolant plumbing to route around, just fins. The VS800 is liquid-cooled and its cooling system stays in the stock configuration unless a qualified professional engineers and validates a complete alternative. Removing or casually relocating the radiator can cause cooling failure and engine damage.
Low-Maintenance Guts
The S83 and its VS1400 predecessor use hydraulic valve lash adjusters, so they do not use the manual shim-adjustment procedure found on many motorcycles. Confirm the service schedule and any valvetrain diagnosis in the manual for the exact year.
The Build, Step by Step
Rear Fender Chop
Job one. The stock rear fender is a sweeping chromed piece that dates the bike instantly. Cutting it down, or replacing it with a short flat fender, is the single change that turns the profile from cruiser to bobber.
Match the blank to the measured tire and wheel profile rather than relying on nominal tire width or rim diameter alone. With the shocks disconnected, move the suspension through its full travel and confirm clearance to the tire, wiring, fasteners, and brake hardware before final welding or drilling. A qualified fabricator should set the clearance and mounts if you cannot verify the load path yourself.
Solo Seat
Ditch the two-up. A tractor-style spring seat, a flat brat pan, or a custom leather seat defines the look. Spring seats mount to fabricated frame tabs and give a little compliance through the springs, which matters more than people expect on a bike with a short-travel rear end.
The VS800 frame backbone behind the seat area is relatively straight, which makes tab placement simpler. The VS1400 has a different profile and takes more fabrication.
Handlebars
Stock Intruder bars are wide and pulled back. Three common replacements:
- Drag bars. Low, straight, forward-leaning, aggressive.
- Mini apes or Z-bars. Some rise, easier on your back over distance.
- Clubman bars. Cafe-meets-bobber hybrid. Not traditional, but some builds carry it.
Any bar swap means rerouting cables and possibly lengthening or shortening throttle cables and brake lines. Budget an afternoon and measure before you order.
Air Intake and Jetting
The stock airbox is a large plastic unit. Some builds replace it with pod filters, but filter-neck dimensions and available space vary by carburetor, model year, and market. Measure the carburetors on the donor before ordering.
Removing the airbox changes the intake system and requires carburetor tuning on both models. The correct jets and adjustments depend on altitude, temperature, carburetor specification, filters, exhaust, and engine condition. Start from a model-specific manual or reputable tuning baseline, synchronize the carburetors, and verify the result with appropriate mixture testing. Popping or plug color alone is not a complete diagnosis.
On a carburetted Intruder donor, an ECU flash does not substitute for mechanical fuel-system tuning. Confirm the induction system and service procedure for the exact model code and year.
Exhaust
The stock system is quiet and heavy. Common paths:
- Slash-cut drag pipes. The classic bobber answer. Loud and clean-looking, but open pipes can give up low-end torque compared with a tuned system, and that is a real cost on either Intruder.
- Stock system retained. The lowest-risk route for noise compliance and baseline carburetor tuning.
- Custom 2-into-1. Requires fabrication or a good exhaust shop. A merge collector makes more midrange than open drag pipes.
Any exhaust change interacts with the jetting above. Do them together and tune once.
Lighting and Electrics
Lighting changes must preserve the functions and visibility required where the bike is registered. If LEDs replace incandescent signals, confirm flasher compatibility, wire protection, steering clearance, and legal lamp spacing before removing factory hardware.
Relocating the battery to a side box or under the seat opens the frame triangle. The VS800’s smaller battery makes this easier than the VS1400’s.
Paint and Finish
Flat black, satin, or raw metal under clear are the defaults. Rattle-can has its own honest charm on a budget build. Powder coating the frame is worth doing during a full teardown because it is tougher than paint and you will never have the frame that bare again.
Bobber Kits: Check the Exact Donor Code
Do not assume that a kit labeled for a Suzuki 800 fits the VS800. Blue Collar Bobbers currently lists Suzuki kits for the M50, C50, S40, TU250X, and C90, not the VS800/S50 or VS1400/S83. Intruderteam, however, lists VS1400 and VS800 rear-fender, seat, and bracket parts, including kits and some products described with TÜV documentation.
A seller must list the exact donor model and year before any part can be treated as bolt-on. Confirm current availability, everything included in the listing, and whether any approval applies in your jurisdiction. Otherwise, measure the motorcycle and plan for fabrication. Never use a kit’s marketing photo as evidence of tire, brake, suspension, or frame clearance.
Common Build Mistakes
These come up over and over on this platform.
Ordering fender parts for the wrong model. The archived examples use a nominal 140 section rear on the 1993 Intruder 800 and a nominal 170 section rear on the 1987 VS1400, but the mounted tire must still be measured and checked through full suspension travel.
Chopping the frame without competent welding. If you are hardtailing, cutting the rear loop, or welding seat tabs, get the welds done by someone who can prove they know what they are doing. A cracked frame weld at speed is not a lesson anyone needs.
Pod filters without carburetor tuning. Removing the airbox changes the intake system. Diagnose and tune the complete setup instead of assuming a universal jet change or reading one symptom as proof of a lean mixture.
Ignoring suspension and shaft-drive geometry. Ride height, swingarm angle, shock travel, tire clearance, and driveline operating limits are separate constraints. There is no universal safe lowering amount for every VS year. Check exact-year service data and have a qualified builder validate the geometry. Extra driveline maintenance does not make out-of-limit geometry safe.
Deleting or casually relocating the VS800 radiator. It is liquid-cooled. Keep the cooling system stock unless a qualified professional engineers and validates the complete alternative.
Cutting wiring blind. The harness is simpler than it looks, but hacking wires to tidy things up will strand you. Get a wiring diagram, identify ignition, charging, and lighting circuits, and remove only what you have confirmed is unnecessary.
Budgeting a Build Honestly
You will find articles quoting exact totals for an Intruder bobber. Ignore them, including the one this page used to carry. Donor prices swing hard by region, condition, and season, and parts pricing changes constantly, so a number printed in 2019 tells you nothing useful in 2026.
Price your own build instead. The line items are consistent even when the numbers are not:
- Donor bike. Check running condition, title status, fuel-system condition, and service history. Inspect before deciding whether the carburetors need cleaning or rebuilding.
- Rear fender blank plus mounting hardware. Width matched to your model.
- Solo seat and fabricated mounts, or a kit that includes them.
- Handlebars, plus cables and lines at the new length.
- Intake parts and carburetor tuning. Budget for the parts, synchronization, and mixture verification required by the chosen setup.
- Exhaust. Keep the compliant stock system or choose an exact-model system approved for road use where the bike is registered, then tune the carburetors as required.
- Headlight, taillight, signals, plate bracket.
- Paint or powder coat.
- Consumables and hardware. This line is always larger than anyone expects.
Get local prices for all nine before you buy the donor, not after. That is the difference between a finished bike and a rolling chassis under a tarp.
If you are new to building customs, our motorcycle beginners guide covers the fundamentals, and our hardtail versus softail breakdown is worth reading before you decide whether to touch the rear frame at all on a shaft-drive bike.
The Community and the Alternatives
The Intruder bobber scene is smaller than the Harley or Triumph custom world, but it is active. The ADVrider Intruder threads and the VS800 and VS1400 groups on social platforms are solid places to find wiring diagrams, parts sourcing, and people who already solved the problem in front of you. Treat forum specifications as leads to verify, not as facts.
If the Intruder is not the right donor for you, the Suzuki S40 is an even simpler single-cylinder route from the same manufacturer, the Honda Shadow is the other Japanese V-twin with a deep build community, and the Yamaha XS650 remains the gold standard for non-Harley bobbers if you want British proportions and the deepest aftermarket outside Milwaukee.
And when the build is done, check our patches and merch collection. You earned it.
Sources
- Suzuki Digital Library - 1987 VS1400. Primary Suzuki archive for the 1,360cc engine, output, torque, 4-speed transmission, tire sizes, and 243 kg dry mass used in the comparison table.
- Suzuki Digital Library - 1993 Intruder 800. Primary Suzuki archive for the 805cc engine, output, torque, 5-speed transmission, tire sizes, 200 kg dry mass, 685mm seat height, and 1,560mm wheelbase used in the comparison table.
- Intruderteam - Suzuki fender and conversion parts. Current exact-model VS1400 and VS800 fenders, rear-fender kits, seats, and brackets; some listings reference TÜV documentation.
- Blue Collar Bobbers - Suzuki kits. Current seller lineup showing why a generic Suzuki kit category is not proof of VS800 or VS1400 fitment.
- Suzuki Boulevard S83 - Motorcycle Specs. Secondary reference used only for the later S83 hydraulic valve-lash-adjuster note, not for the year-specific comparison table.
- Suzuki Intruder - Wikipedia. Secondary source for broad model history, North American Boulevard rebranding, and the factory rake claim. Exact specifications in this article come from Suzuki’s year-specific archive pages.
- ADVrider - Suzuki Intruder VS800 and VS1400 tech and mods. Owner and builder discussion used as leads for jetting and build practice, not as a specification source.