The Moment a Build Gets a Name
There’s a point in every custom project where the wrenching stops and the identity work starts. The motor’s sorted. The frame sits right. The wiring doesn’t catch fire anymore. And then you’re standing over a bare gas tank, realizing that this is the part that separates your bike from every other build on the same platform. Motorcycle decals and tank graphics are where the builder’s personality finally shows up - the line between a clean machine and a machine with a soul.
We stripped a tank last month that had three layers of decals underneath the paint. Each one was a different era of the previous owner’s taste. That tank told a story before we even touched it. This guide covers the history, the options, the application process, and the care that keeps tank graphics looking sharp after years of fuel splashes and sun.
Where Tank Art Came From
Brushes Before Machines
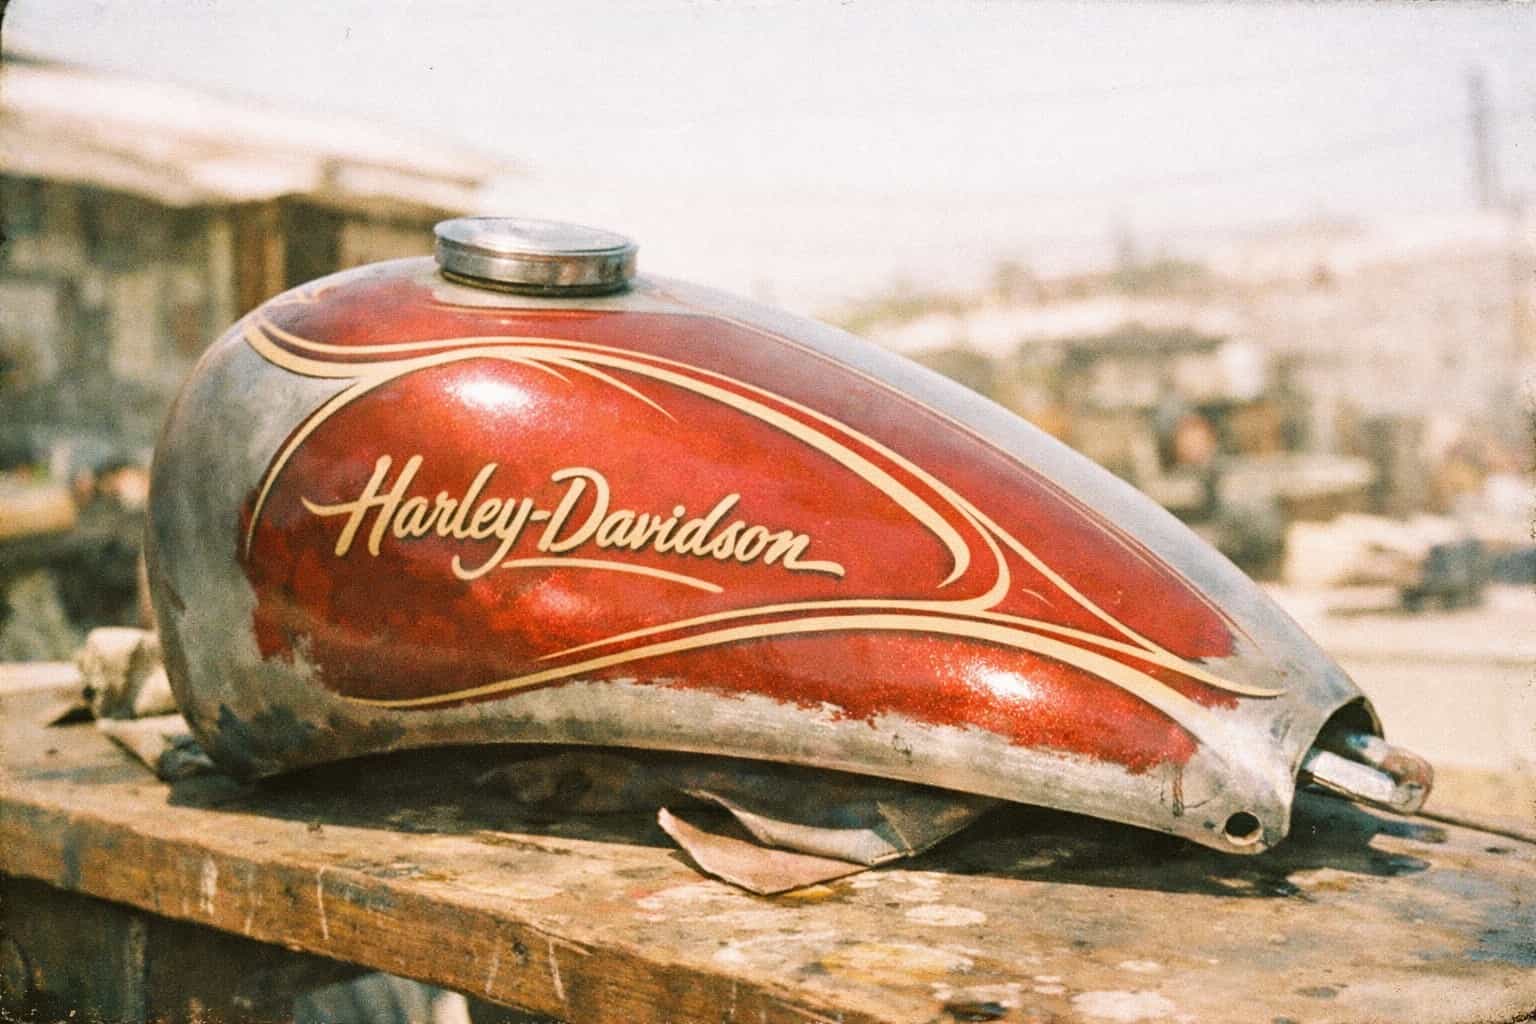
Tank decoration is older than most riders think. Pinstriping as a decorative technique traces back to ancient cart and carriage decoration, long before internal combustion was a thought. In the motorcycle world, manufacturers like Indian, Harley-Davidson, and Excelsior were hand-painting logos and accent lines directly onto tanks in the 1910s and 1920s. No vinyl existed. No digital anything. A painter with a steady hand and a striping brush laid down every line in enamel, freehand, one shot at a time.
By the 1930s and 1940s, pinstripers had become traveling craftsmen, moving between custom shops and applying accent lines, scrollwork, and decorative borders to tanks, fenders, and frames. The skill was specific: a single long brushstroke with no tape and no guides. One wrong move meant starting over. The best pinstripers could pull a line the length of a fender without a waver, and shops competed to book them.
Von Dutch and the Birth of Kustom Kulture
Kenneth Howard - Von Dutch - turned pinstriping from skilled trade into art form. He’d been striping since he was about ten years old, and by the 1950s he was working out of custom car and motorcycle shops in Southern California, developing a freehand calligraphic style that no one had seen before. His work wasn’t geometric or precise in the traditional sense. It was fluid, spontaneous, and unrepeatable.
The origin story is perfectly garage: Von Dutch’s early striping work grew partly from covering sloppy bodywork at George Barris’s shop - it was easier to disguise bad panel gaps with a few artistic paint lines than to actually fix the metalwork. That practical problem-solving evolved into an entire aesthetic movement.
Von Dutch’s flying eyeball logo became one of the most recognizable symbols in custom culture. He didn’t use stencils or patterns. Every piece was one-of-a-kind, laid down in real time, and he refused to repeat himself. His influence on motorcycle tank art is hard to overstate. Before him, tank graphics were branding. After him, they were self-expression.
Other pioneers built on that foundation. Dean Jeffries, Dennis “Gibb” Gibbish, and Ed “Big Daddy” Roth were among the originators of modern pinstriping alongside Von Dutch - each bringing their own hand and their own attitude to the craft, pushing it from Southern California shops into the wider custom world.
Flames, Skulls, and the Custom Paint Explosion
By the 1960s and 1970s, custom motorcycle paint had become its own subculture. Flame jobs - those tapered, flowing fire patterns - defined the look of choppers and hot rods alike. Candy paint (translucent color over a metallic base) gave tanks a depth that photographs still struggle to capture. Skulls, tribal patterns, and full airbrushed murals appeared on everything from Panheads to Sportsters.
Airbrush artists like Ed Roth pushed tank art into territory that was closer to gallery work than garage work. A full custom paint job with airbrushed murals, candy coats, and pinstripe accents could run more than the engine build itself. That’s still true today. We’ve seen custom tank jobs quoted at three thousand dollars, and they were worth every dollar of it.
Harley Tank Emblems: A Collecting World of Their Own
Harley-Davidson tank emblems deserve their own mention because they’ve become a collecting culture separate from the bikes themselves. From simple bar-and-shield decals in the 1950s to elaborate cloisonne badges in the 1960s and 1970s, HD tank emblems changed with nearly every model year. Riders track them, trade them, and use them to date bikes. Our complete guide to Harley-Davidson tank emblems by year goes deep on that subject.
Your Options Today
Vinyl Decals
Vinyl is the most accessible option for motorcycle decals and the one most builders reach for first. The key distinction is between cast and calendered vinyl, and getting this wrong will cost you time and money.
Cast vinyl is made by pouring liquid vinyl into a mold, which produces a thinner, more flexible film. It conforms to compound curves - the kind gas tanks are made of - without lifting at the edges. Cast vinyl typically lasts five to seven years outdoors and is the standard for quality motorcycle graphics. If someone is selling you tank decals and can’t tell you whether the vinyl is cast, keep looking.
Calendered vinyl is made by rolling vinyl through a series of rollers. It’s thicker, less flexible, and cheaper. Fine for flat surfaces like toolbox lids or trailer panels, but it fights the compound curves of a gas tank. Edges start lifting within a year or two. Not the move for tank graphics.
Reflective vinyl contains glass beads that bounce light back toward the source. Primarily a safety play - reflective decals on saddlebags or helmets make you visible to headlights at night. Not typical for tank art, but worth knowing about if you ride after dark.
Custom Paint
If budget allows and you want something no one else has, custom paint is still the gold standard. A skilled painter can achieve things on a tank that no vinyl decal or digital print will match: depth through candy and pearl coats, hand-laid metallic leaf, airbrushed portraits, pinstripe work that follows every curve organically.
The trade-offs are real. Cost runs five hundred to three thousand dollars or more for a full custom tank job. Turnaround is weeks, sometimes months. And the work is permanent - changing your mind means stripping to bare metal and starting from zero.
Hydro Dipping
Hydro dipping (water transfer printing) uses a printed film floating on water. The part gets dipped, and the film wraps around the surface, conforming to irregular shapes. It’s popular for patterns like carbon fiber, wood grain, camouflage, and other complex repeating designs that would be prohibitively expensive with custom paint.
For gas tanks, hydro dipping needs a clear coat for durability and fuel resistance, and quality varies enormously between shops. This is not a DIY-friendly process. The results range from impressive to disastrous depending on who does the work.
Digital Printed Wraps
Full tank wraps use digitally printed vinyl - any image, any graphic, full photographic detail - laminated and applied to the tank surface. This is the maximum-complexity option. Want a photorealistic desert highway scene on your tank? A wrap can do it.
The trade-off: wraps look like wraps. Up close, the difference between printed vinyl and actual paint is visible. Wraps also demand careful surface prep and professional installation to avoid bubbles, wrinkles, and lifting. More common on sport bikes than on cruisers and bobbers, where the community favors paint.
Decal Styles That Hold Up
Clean Logo and Text
The simplest approach is often the strongest. A brand logo, a name, a single word across the tank. Harley-Davidson’s block lettering. Triumph’s cursive script. A custom shop name in a bold face. These work because they’re readable, they don’t compete with the build, and they tie the bike to an identity without overcomplicating things.
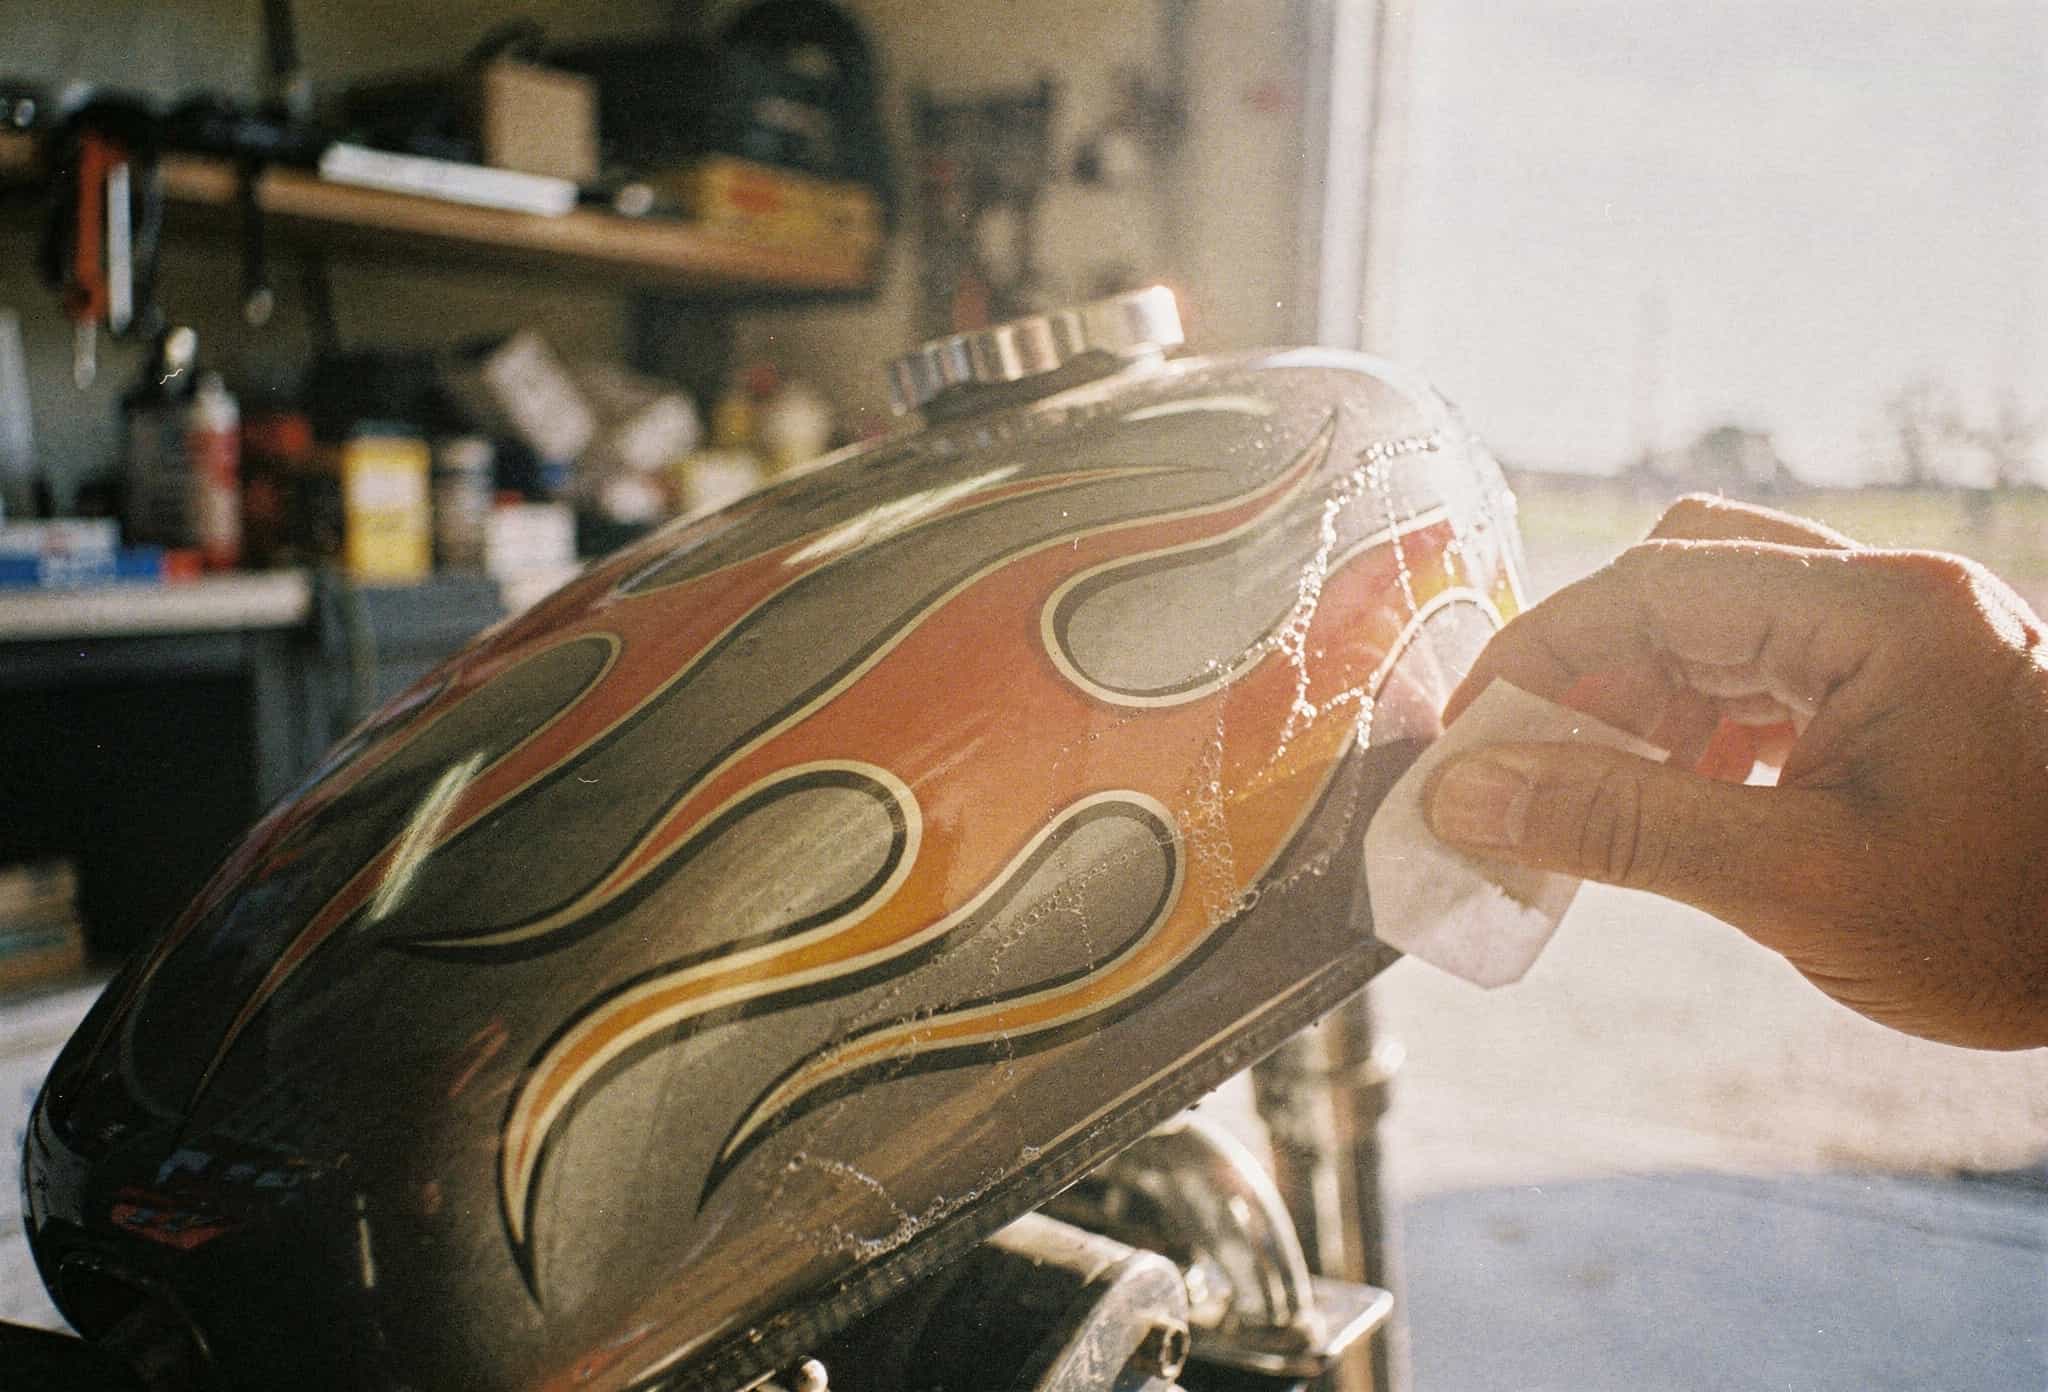
Flames
Flames never left the culture. The style has evolved - from thick, rounded “traditional” flames of the 1960s to thinner, more angular tribal flames of the 2000s to current-era realistic fire effects - but the concept persists because gas tanks are naturally shaped to carry the pattern. The graphic follows the form.
Skulls
Skulls have been on motorcycle tanks since the 1950s and they’re not going anywhere. From the Jolly Roger simplicity of early outlaw bikes to hyperdetailed airbrushed work on modern customs, this motif is foundational to the culture. If you ride in our circles, you get it. It’s not decoration. It’s acknowledgment.
Pinstripes and Accent Lines
Sometimes the strongest tank art is the subtlest. A single gold or silver pinstripe following the tank’s body line adds definition without competing for attention. Two parallel lines framing a logo. A small scrollwork accent near the filler cap. Pinstripes are the finishing touch that separates a thoughtful build from a parts-bin assembly. The Von Dutch tradition lives here.
Club Graphics
Club-related tank graphics carry specific meaning and specific rules. If you’re in a club, you know the protocols around displaying your colors. If you’re not in a club, don’t put club-style graphics on your bike. That’s a conversation nobody wants to have on the side of the road.
Applying Vinyl Decals Without Destroying Them
Application isn’t complicated, but it’s unforgiving. A bubble or wrinkle becomes permanent once the adhesive bonds. Here’s the process we use in the shop.
Surface Prep
- Wash the tank surface with soap and water. Remove all road grime, old wax, and grease.
- Wipe down with isopropyl alcohol at 90% or higher. This strips remaining oils, including skin oils from handling. Skip the window cleaner - it leaves residue that kills adhesion.
- Dry completely. Moisture trapped under a decal becomes a bubble. Every time.
Wet Application (Larger Decals)
Wet application gives you repositioning time, which you’ll want for anything bigger than a logo.
- Mix a spray bottle with water and two to three drops of dish soap.
- Spray the tank surface and the adhesive side of the decal.
- Position the decal. The soapy water lets you slide it into exact alignment.
- Squeegee from the center outward, pushing water and air toward the edges. Use a felt-edge squeegee - hard plastic scratches the decal surface.
- Wait twenty-four hours before riding. The adhesive needs full bonding time.
Dry Application (Small Decals)
For logos, text, and accent pieces where precision matters less:
- Peel the backing paper away from the transfer tape.
- Position carefully - you get one shot at placement.
- Press from center outward, smoothing with a squeegee or a credit card wrapped in microfiber.
- Peel the transfer tape slowly at a sharp angle.
Working Compound Curves
Gas tanks curve in two directions at once, and that’s where vinyl gets difficult. A heat gun (or a hair dryer on high) softens the vinyl, making it pliable enough to stretch around curves without wrinkling. Work in small sections - heat, smooth, move forward. Don’t overheat or you’ll distort the graphic and potentially damage the clear coat underneath.
Protecting What You Applied
Clear Coat
For maximum longevity, clear coat over your decals. A 2K (two-part) automotive clear coat bonds to both the tank paint and the vinyl, creating a seamless surface that protects against fuel spills, UV, and abrasion. It also eliminates the visible edge where decal meets paint.
Professional application is recommended - the isocyanate hardener in 2K clear coat requires proper ventilation and a respirator. A clear coat job from a local paint shop runs a hundred to two hundred dollars for a tank.
Fuel Resistance
This matters more than riders expect. Gasoline dissolves many adhesives and vinyl formulations. If your decals sit anywhere near the filler area, fuel splashes during filling will degrade unprotected vinyl over time. Three solutions: use vinyl specifically rated for gas tank applications, clear coat over the decals, or apply a fuel-resistant laminate over the decal area.
UV Protection
Sun fades everything, and it fades reds and yellows fastest. Cast vinyl with UV-resistant lamination holds up five to seven years in direct sun before noticeable color loss. Cheaper vinyl fades in one to two years. If you park outdoors, a simple tank cover or keeping the bike out of direct sun extends graphic life significantly.
Custom vs. Pre-Made: When Each Makes Sense
Go pre-made when you want a clean brand logo, need OEM-style replacement graphics for a restoration, have a limited budget (quality pre-made tank decals run twenty to eighty dollars), or want something easily replaceable if it takes damage.
Go custom when the graphic needs to match your build’s specific color scheme, you want a one-of-a-kind design, you’re doing a show build where every detail is judged, or you want hand-painted work with that irreplaceable human quality.
For most riders building bobbers and customs, a combination hits hardest: pre-made logo decals for brand identity plus hand-painted pinstripes or a custom accent for personality. The best builds we’ve seen don’t try to make the tank a canvas for everything. They pick one strong element and let it breathe.
For more on the gear and accessories that complete a build, start with our biker gear guide. The biker jackets guide and biker vest guide cover the rider side of visual identity - because the bike and the rider should match. Our biker fashion guide puts the broader culture of self-expression in context. To understand where bobber builds fit in the custom world, read our guide to what a bobber motorcycle is. And if you want to wear the builder spirit, browse our full collection or check out our patches and accessories.
Sources
- Kustomrama, “Von Dutch”
- Wikipedia, “Kenny Howard”
- Wikipedia, “Pinstriping”
- The Vintagent, “A Fine Line, Part 1: Von Dutch”
If you want to go deeper into the culture around riding - rally calendars, films worth watching, the lifestyle history - our motorcycle culture guide covers it.